





Ultimate MagSafe Charging Pad V2.1
- $99.95
$99.95- $99.95
- Unit price
- per
Availability:
⏱ In Production / On Order
Coming in an upcoming batch
Rivian Owner Made
This product is created by a Rivian Owner for Rivian Owners
Community Feedback Incorporated
This product incorporates feedback received by the online Rivian Owners community
Tested in a Rivian Vehicle
This product has been explicitly designed for and extensively tested in a Rivian
Made in the USA
Most or all of this product is Printed or Made in the USA (electronics excluded)
Ships from OpenSourceEV
Shipments of this product come directly from OpenSourceEV
Design is Open Source
The design of this product has been published publicly for remix and free personal use

!! ATTENTION !!
As of December 2023, Rivian may have updated the power plug on the R1T and R1S. Before ordering, please compare the connector shown in picture 4 with what you have installed in your Rivian. If you need assistance, please contact us.
The OpenSourceEV Ultimate MagSafe Charging Pad V2 is here! This new version has a ton of quality of life updates on our V1 unit that make this arguably the best wireless charging pad replacement on the market for the Rivian R1T and R1S.
The updates have focused on three major elements - ease of assembly and installation, better fit and finish, and serviceability if needed.
Please note that this product was designed initially for Gen 1 Rivian R1S and R1T. It will work with Gen 2 Rivians, but access card access card scanning is built into the wireless charging pad and will be disabled when installing this product.
Overview
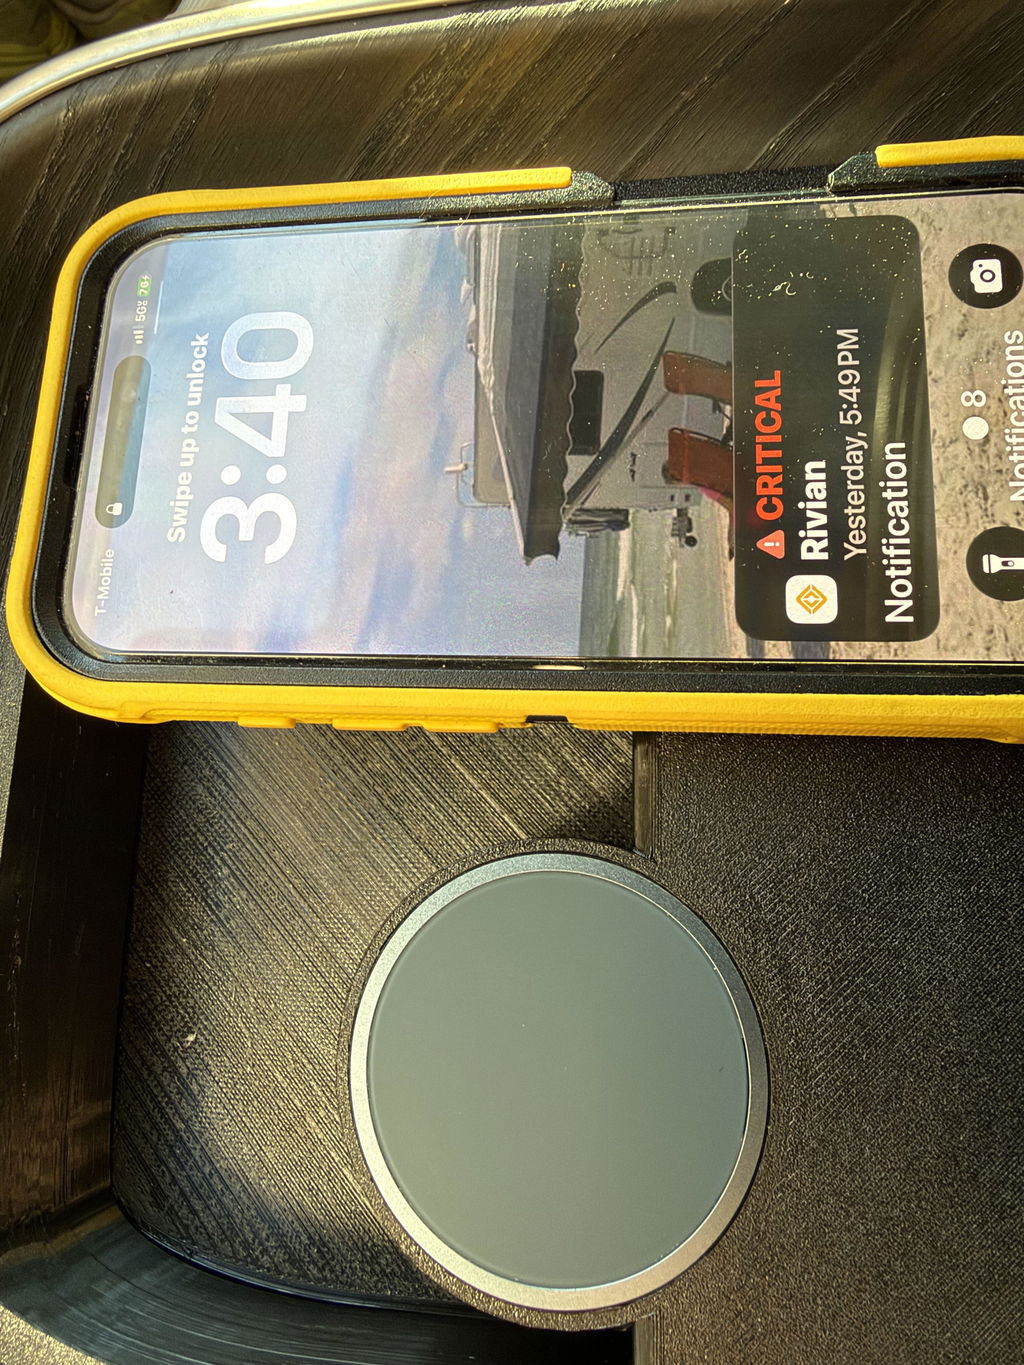
This kit is designed to be a complete replacement for the stock charging pad for the Rivian R1S and R1T. Its goal is to beautiful, reliable, and easy as pie to install. It uses 'MagSafe' pads that magnetically attach to the back of the phone or case, if equipped.
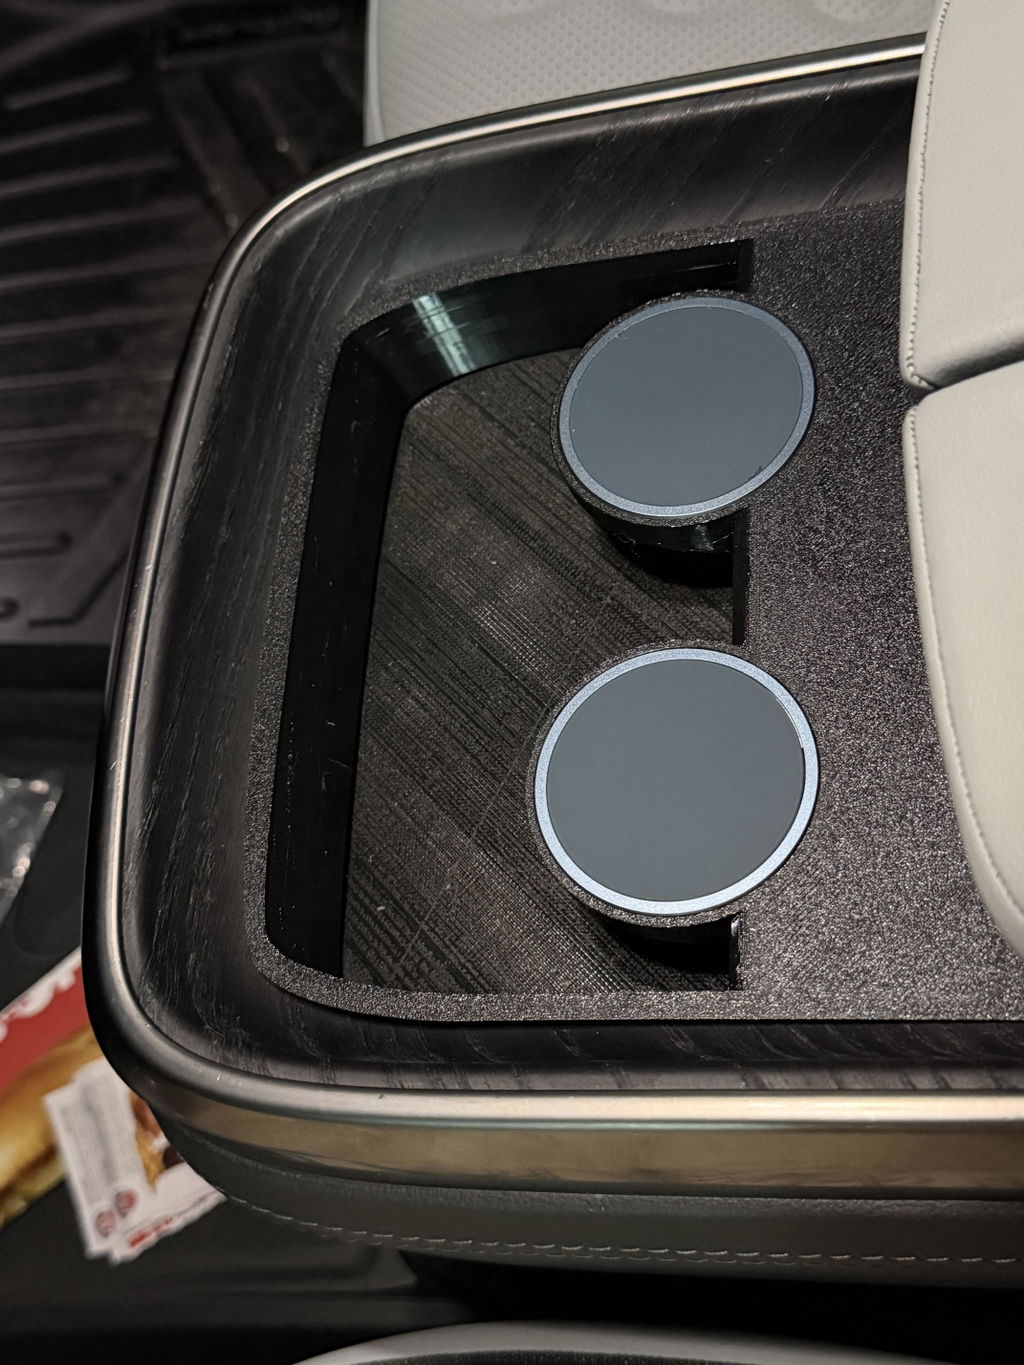
One of the signature features of the kit is the large, open, easy to access storage area in the front. The design allows two MagSafe pads to 'float' above it yet stay solid in place. The storage area is quite large -- much larger than the stock setup, or other options in the market. It's nearly 1/2 liter in size at 168mm wide x 94 long x 30mm tall.
The kit is also designed to be modular, giving you options as to colors, how many charging pads that you can install, how you can power those pads, and even the charging pads themselves. It comes in the following configurations:
- Complete - This is our signature product. It is a wholesale replacement of the OEM charger. It includes all of the 3D printed parts, two high quality MagSafe charging pads made JSAUX, and our PowerKit to use the OEM connector like the OEM charging pad does.
-
BYO Pads - This version is the same as the Complete kit, but does not include the charging pads. Folks tend to go for this kit when they want to install Apple OEM MagSafe charging pads instead of the JSAUX setup that we include with the Complete kit. This includes all of the 3D printed parts, the power kit, and additionally includes two USB-A to USB-C adapters, because you'll likely need them.
- Power Free - This version includes all of the 3D printed parts and JSAUX pads, but does not include the Power Kit. This kit would be purchased when you want to use the two USB-C ports inside of the center console to power the charging pads. It also costs less.
- Basic - This version includes just the 3D printed parts. You can purchase this if you already have charging pads and just want to use the two USB-C ports inside of the center console to power the charging pads.
Version 2 Enhancements
V2 of this product brings many quality-of-life upgrades to the Ultimate kit. They are:
- An updated 3D printed shelf to reduce the amount of plastic showing, especially toward the front of the vehicle / charging area. This additionally provides slightly easier access to the storage area.
- An additional 3D printed element has been added to the design which sits right beneath the liner. This new part of the shelf provides a flat area for the liner to lie on, making it fit significantly better. It is taped in place using high-quality automotive tape (not glue) to ensure easy servicing and repairability if needed.
- Revised dimensions to ensure the 3D printed shelf matches the contours of the wood or vegan leather on the outside of the charging pad, and to positively snap the entire kit into place / hold it extremely tight.
- A new mounting location for the optional Power Kit (included in some configurations) It slides into place and is held there by the barrel connector it plugs into the vehicle with. There is also a cutout to make inserting the barrel connector easy.
- Tiedown points have been added to the underside of the shelf. These are sized perfectly to use the twisty-ties of the JSAUX charging pads and allows you to easily coil up the excess cabling and keep it out of the way.
3D Printed Parts
All versions of the kit include two 3D printed parts - a shelf and a liner. The shelf is the plastic surround which is roughly the same shape as the wireless charging pad that it replaces. It's constructed of our premium ASA material which is beautiful, durable, and UV / high temperature resistant (up to 300 degrees F).
The shelf is available in two colors - an OEM matching black (#292929 hex) or an OEM matching white (#FFFFFF hex). The top has a very light crinkle finish to better blend in with the interior and to conceal the fact that it's 3D printed.
The liner is 3D printed in a flexible TPU rubber of matching color. It's designed to drop in directly onto the bottom of the storage area. It has a light crosshatch finish on top and raised border on the outside for a premium look.
MagSafe Charging Pads
The MagSafe charging pads we use for most kits are made by JSAUX. They have been proven high quality and durable. We've not observed (or told of) them getting hot like lower quality pads, and we have not had a single one fail.
They are available in two colors - a black with silver outline, or a white-on-white setup.
Two features that we love on these pads is that 1) they include the USB-A to USB-C adapter. They are USB-C native, but they can work with our Charging Kit right out of the box as the adapters are included. 2) They can charge at 15W for properly equipped Android phones or 10W for properly equipped Apple phones. (keep in mind that you'll still need a MagSafe capable phone or case)
OpenSource & Maximum Serviceability
When updating from V1 to V2, we wanted to make this the most durable, open, and easy kit on the market. This approach manifests itself in a few ways:
- We use all off-the-shelf parts. This includes things like the charging pads, USB power supply, and even the connectors on the cable that we use to interface the USB power supply to the vehicle.
- All bits of this kits are available a replacement parts, either directly from us or from other locations online.
- Replacing a failed item on the kit is purposefully easy - uninstall the kit from the vehicle and unplug it. Unclip the failed item from the kit assembly and install a new one and then reinstall.
- We don't glue anything together, solder anything together, or attempt to obscure construction or parts under shrink-wrap or other means.
- We don't use any stickers or vinyl in construction of the item. We've observed (and been informed) these don't hold up well after weeks / mounts / years of use placing your phone (or other items) on them over and over.
- STL files to 3D print your own copy of the both the shelf and liner. The license for these items promotes remixing them with different designs and for releasing them for others to do so in a non-commercial way.
Final Considerations
There are a few other notes for this product that you should be aware of:
- This kit requires that your phone is capable of wireless charging to, you know, use it to charge.
- This kit requires that your phone and/or case be MagSafe compatible. This magnetic design is what keeps the phone in place and on the charger. Most phones (even Android phones) have MagSafe cases available for them.
- This kit works with all dimensions of iPhones - from Mini to Plus/Max.
- This kit works with nearly all dimensions of Android phones, including the big-boy Samsung Ultra phones, and most foldables.
- There is a good bit of space underneath where the phone sits to curl up the extra cabling from charging pads should you want to plug them into the USB-C ports in the center console.
Designed by: Rob Werksman, OpenSourceEV
Files: Download on Printables
License: Open Community License
This product has no reviews of its own. The merchant grouped it with related products, so the reviews shown are from across that group.
J
Works perfectly!!
J
This was well designed and fit perfectly in my launch addition Rivian R1T and when you add the QC charging pucks you can get on this site work and looks nice
M
At a minimum it would be nice to get some kind of instructions.
I know what I was doing, but still had to be sure and use outside equipment to install correctly.
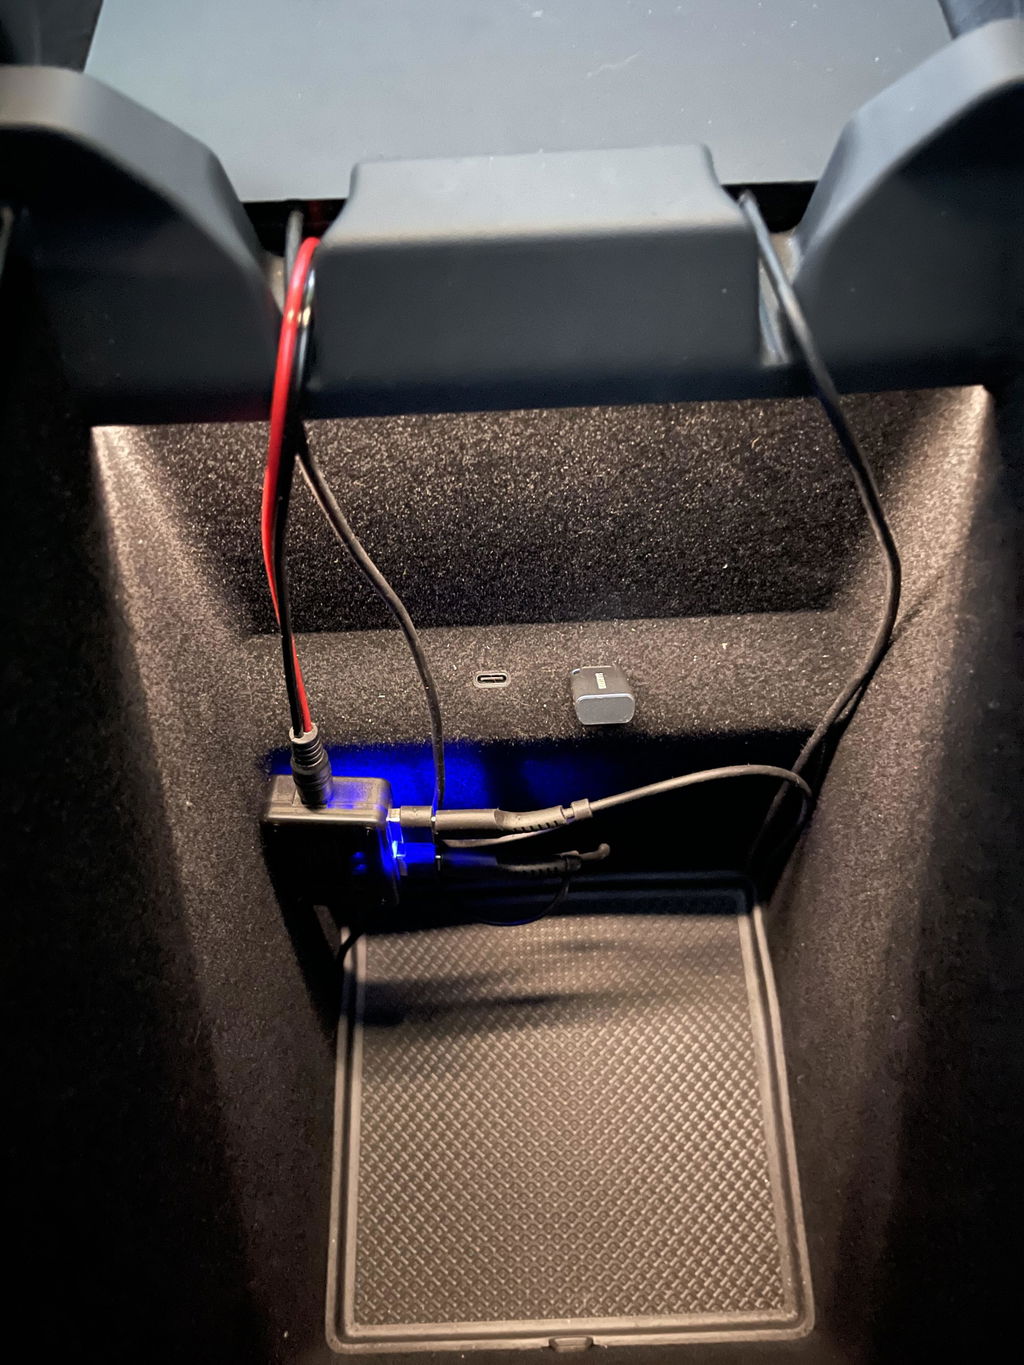
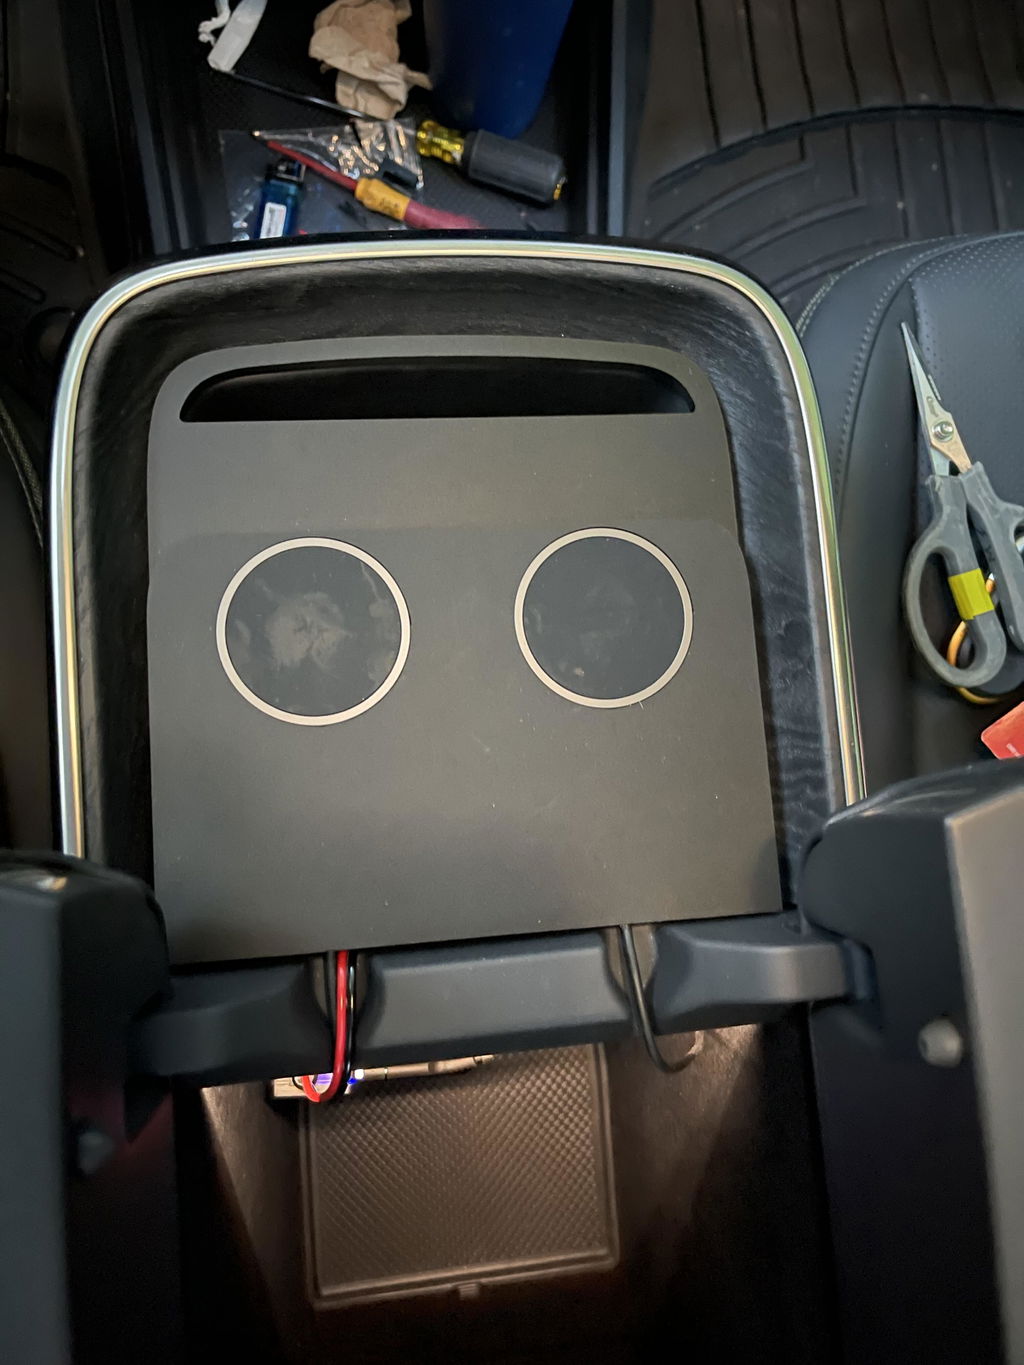
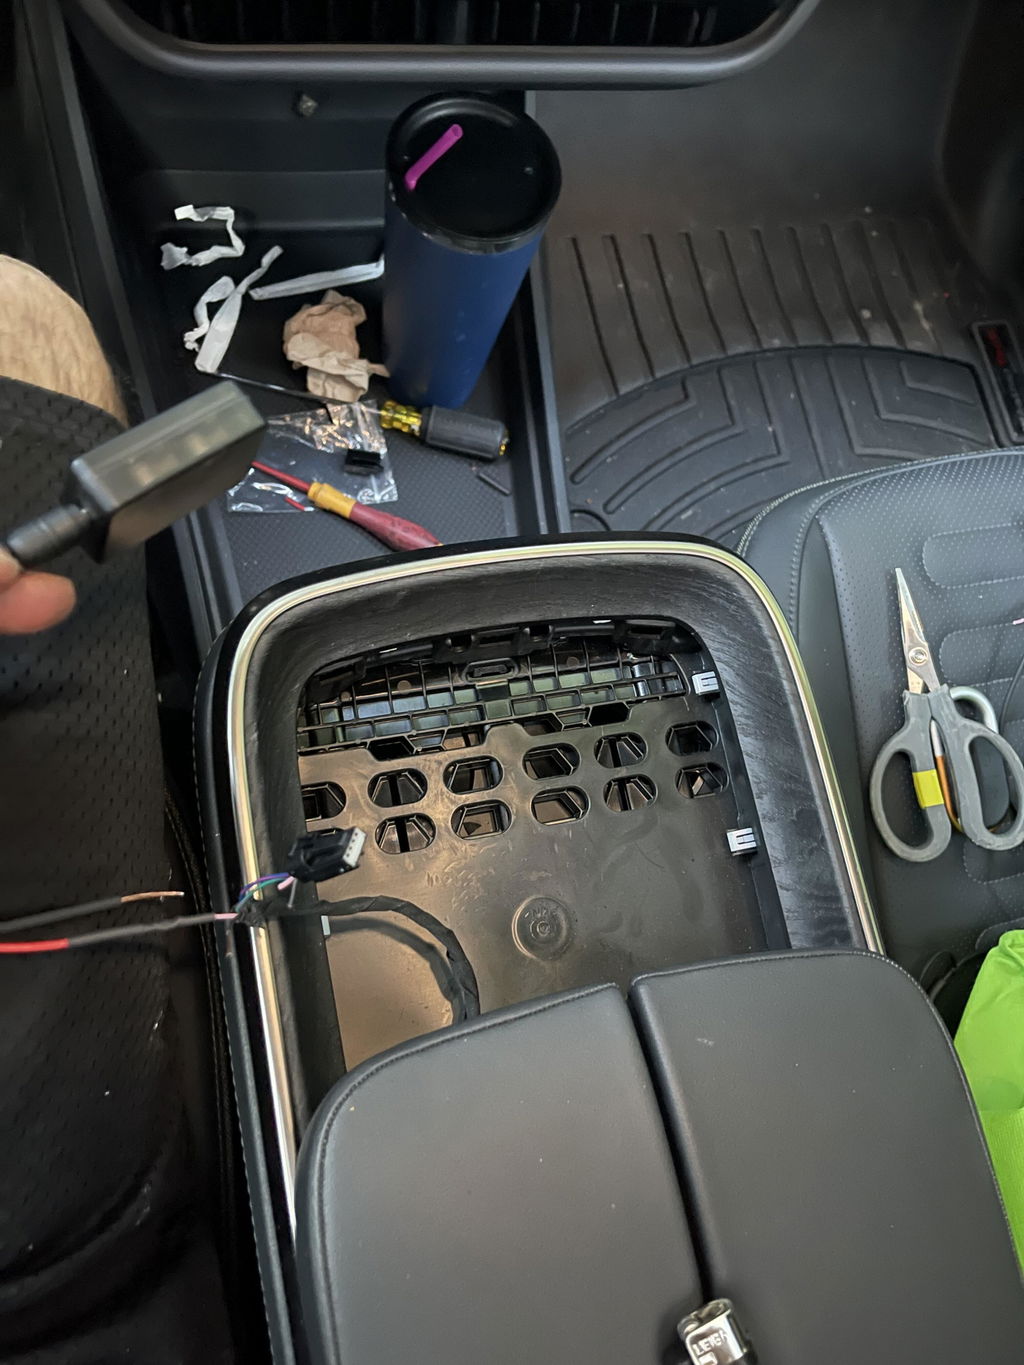
On the inside of every box that we send is a stamp that directs folks to the installation instructions page: https://opensourceev.com/install
On that page are instructions for the installation of this product. It's located here: https://opensourceev.com/blogs/install-instructions/power-kit
M
Works as promised
M
Easy install. The hardest part was disconnecting the wires from the vehicle. A little stubborn. Other than that, all working as promised. Fits snug, looks like it is OEM. Better than before. Charges great. 5 star.
P
Works great, super easy install
P
Works great, super easy install
P
Works great, super easy install
P
Works great, super easy install
A
Great 3d print that fits and works well. Couldn't be happier with the end result.
D
Great kit to make the useless Rivian charging system actually work. USB-A and the strange DC barrel connecter are sub-optimal, but overall works as expected.
C
Your video was perfect in putting together the kit. Works like a charm. Very nice to get wireless charging
G
Kit fit very well was easy to install and holds the phone without it moving
Under fairly severe conditions
Very good upgrade
J
This is nice addition to the whole charger replacement that comes with RIVIAN’s . With the addition of the solid bottom on main part this is easy to install and easy to remove to clean
J
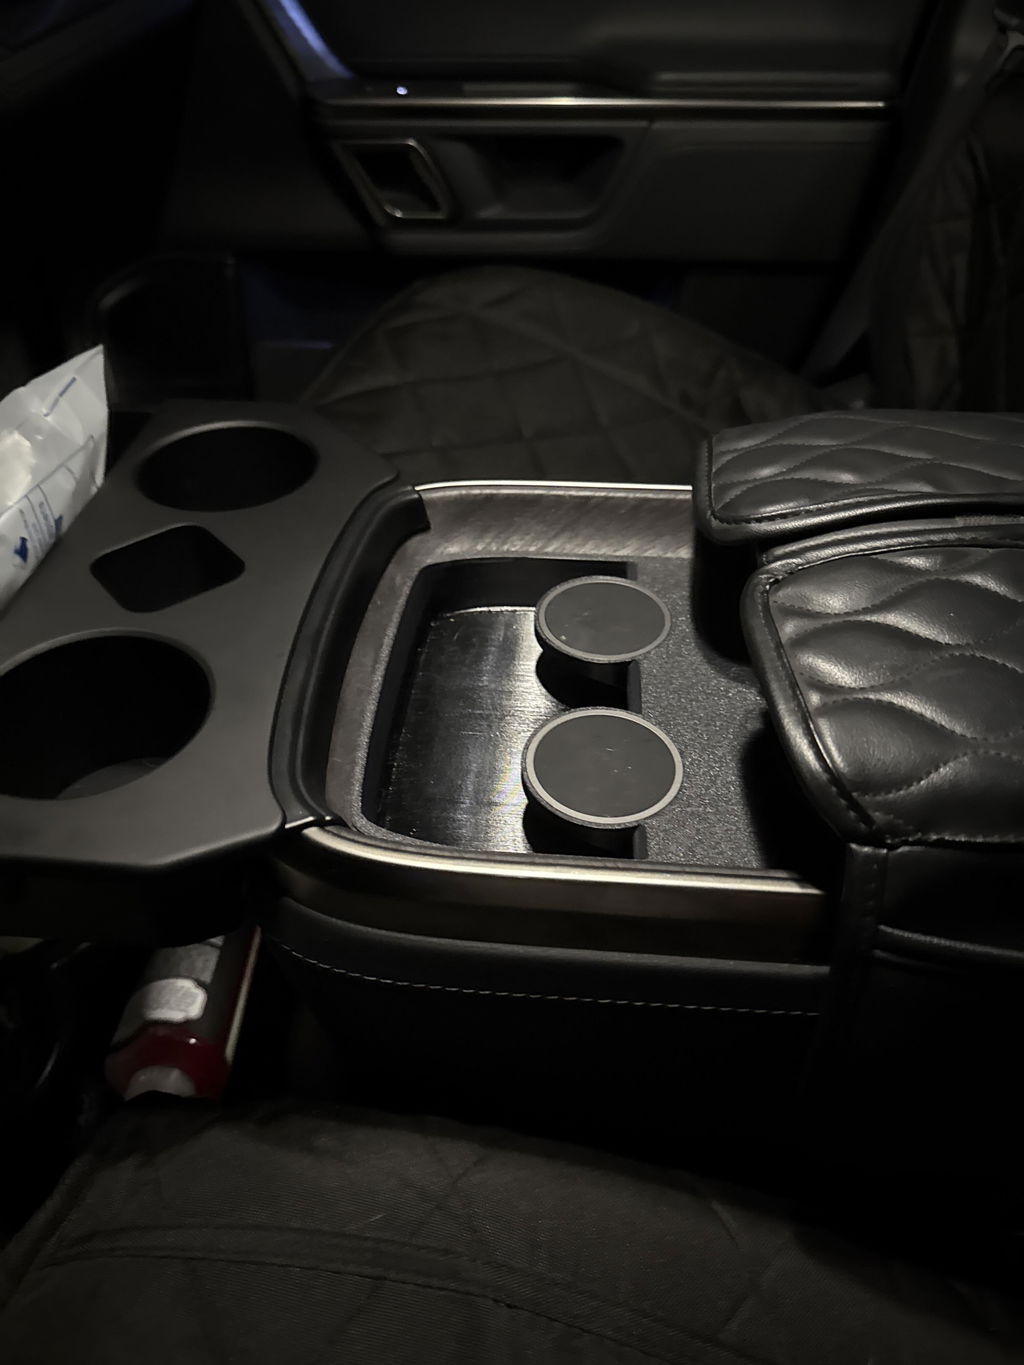
This is an awesome design easy to plug in fits perfectly on my Launch addition Rivian R1T
M
I was satisfied with the original charging pad when I had an iPhone SE, but after I upgraded to a iPhone 16, the original pad wouldn't charge two phones side-by-side. I found this pad after searching for solutions and I like it because it replaces the original pad rather than sits on top of it. Very satisfied!
j
Great Design and built quality
S
This is an excellent functional design. The connection design needs help. However unless you solder, expect to invest time in tinkering to ensure a stable power connection. Soldering requires two welds in about 1/4” of space. A few ideas for OpenSource. A) Design a pre assembled / soldered version. B) design a push to connect connector. C) Design a simple pin that can be connected to barrel connector with a heat gun solder joint and directly insert into the Rivian connector.
E
I have a 3D printer and even bought the USB adapter from Amazon - (TFTL!). It took me two prints and it got "ok" but my printer isn't large enough. So I'm returning the Amazon USB and ordering all through you (print included). Thanks for being open source an keep being awesome!
J
I went the solder route and it was great, except that the 12v barrel connector was not connected well to the board. This caused an intermittent loss of power. Added a small plastic shim to the case after adding a dab of solder and we are up and running.
M
Great fit. Works perfect.
J
This is an awesome magnetic wireless charging pad. It works great.
P
I have to agree with the other reviews that this install is a tight fit, and you definitely need to plan to route the DC connector into the little hole in the back of the console. I went with the screw in wiring, and found the pre-stripped/tinned leads were too short to bottom into the connector. Since there is a LOT of slack in that cable, opted to cut and strip new leads that were a touch bit longer. Helpful to have some electrical tape to clean up the work/wiring and some small pieces of double back mounting foam to hold both the power block and OEM power connector in place during final install.
Overall a good solution to keep the USB-C ports open in the center console. One star taken off as the install was a bit more finicky than was expected.
L
I ordered the Magesafe pads with power kit. I soldered the leads vs. using the screws--it was simple and straight forward. I like having the center console ports available and this power kit keep the install clean (no visible cables). The one trick is to look at the photo on this website and note the power cable to the USB block tucks into an existing cutout. This leave a little more room for the other cables. I also added a small amount of stickyback 1/8 foam to make sure nothing rattles.
This kit enabled a clean install and is a very functional addition to my (much loved) R1T!
D
Would have been much easier to install if the DC plug was a right angle.
The JSAUX Qi adapters get quite hot even with this open design. Time will tell how will it functions, especially on a long summer roadtrip.
Related Products
Example product title
- from $39.95
$39.95- from $39.95
- Unit price
- per
Example product title
- from $39.95
$39.95- from $39.95
- Unit price
- per
Example product title
- from $39.95
$39.95- from $39.95
- Unit price
- per
Example product title
- from $39.95
$39.95- from $39.95
- Unit price
- per
Example product title
- from $39.95
$39.95- from $39.95
- Unit price
- per
Example product title
- from $39.95
$39.95- from $39.95
- Unit price
- per
Example product title
- from $39.95
$39.95- from $39.95
- Unit price
- per
Example product title
- from $39.95
$39.95- from $39.95
- Unit price
- per
Example product title
- from $39.95
$39.95- from $39.95
- Unit price
- per
Example product title
- from $39.95
$39.95- from $39.95
- Unit price
- per
- Choosing a selection results in a full page refresh.